
Fast and easy removal
Gentle and easy removal guaranteed.
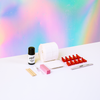
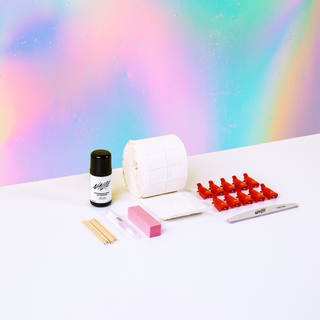
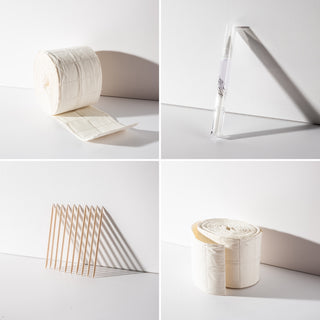
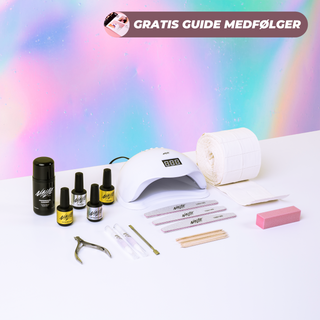
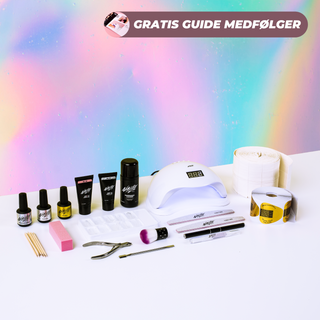
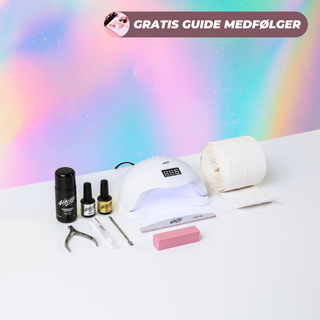
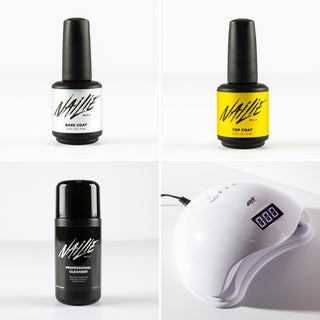
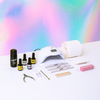
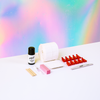
Our removal kit contains everything you need to make an easy, fast, efficient, and gentle removal.
Say goodbye to incorrect removals
Avoid damaging your nails when removing gel polish and acrylic gel. With a removal kit, you can prevent your nails from looking unpleasant. Instead, you will notice that your nails look fresh and polished. See below how important it is to use a removal kit instead of picking or pulling your nails off.
❌ Incorrect removal without a removal kit
When you pull or pick at nail products from the nail, some of the nail plates are torn off. It can be very painful and unpleasant to look at. Likewise, you increase the risk that the products may not adhere as well.

✅ Correct removal with a removal kit
When using a removal kit and following the instructions step by step, you will achieve a healthy and beautiful result. Additionally, your nails will be much better prepared for the next round of gel polish, acrylic gel, or other product.

Removal Guide - How to use a removal kit
Read more here on how to use our removal kit step by step. Note: The removal process depends on the product you have on your nails (e.g., gel polish or polygel).

Step 1
When removing gel polish, you should file away all of the top coat and some of the color coat.
For polygel/acrylic gel, you should file away all of the top coat, color coat, and about 80-90% of the polygel/acrylic gel.

Step 2
When you have almost finished filing away approximately 80 - 90% of the product, the remaining product is ready to dissolve.

Step 3
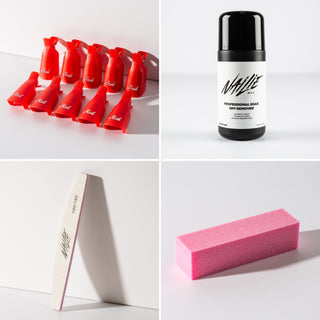
Take a lint-free wipe and pour a generous amount of Professional Soak Off Remover onto the wipe. Wrap the wipe around the nail.

Step 4
Place our Soak Off clip on. Leave it on for approximately 10-12 minutes. It's important not to leave it on for too long, as it can harden the product again.

Step 5
Unwrap only one nail at a time and scrape off the dissolved product with a cuticle pusher. If you unwrap all the nails at once, you risk the product hardening again. When scraping off the dissolved product, it's important not to apply too much pressure as it can damage the natural nail. If the product isn't dissolved enough for you to scrape it off gently, you should take another wipe and soak it well in the remover, then place a clip on it. Leave it for a few more minutes.

Step 6
Gently buff away the remaining residue. If there are still some remnants on the nail, you can use the buffer to gently remove the last bits from the nail plate until you have a clean nail surface again.

Step 7
For the last step, finish by washing your hands thoroughly. Then, apply nail oil, both around the skin surrounding the nail and on the nail plate itself.

Step 8
Now you're ready to enjoy your beautiful natural nails.

 See all
 Red
Red
 Pink
Pink
 Purple
 Blue
Blue
 Green
Green
 Orange
 Yellow
 Nude
Nude
 Brown
Brown
 Black
Black
 Grey
Grey
 White
White


